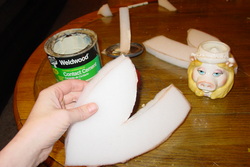
one of the halves of the foam "skull"
My next step in the process is cutting out all the foam pieces. Laying out the patterns on the foam, I try to get the least amount of waste as possible. For one puppet of this sort, I usually end up using about 16" wide x 27" long of foam. (Save the little bits- I'll show you later some fun things you can make with them.) Watch carefully when putting down the pieces, some will need to be flipped over to get the parts to lay out correctly (ie- the head pieces will need to have a left and right side) I usually use a sharp scissor, but have used a good utility knife for cutting, also. After cutting out all the pieces, apply the contact cement to the edges indicated on the pattern. I usually let it dry for about 15-20 minutes before gluing the edges together.
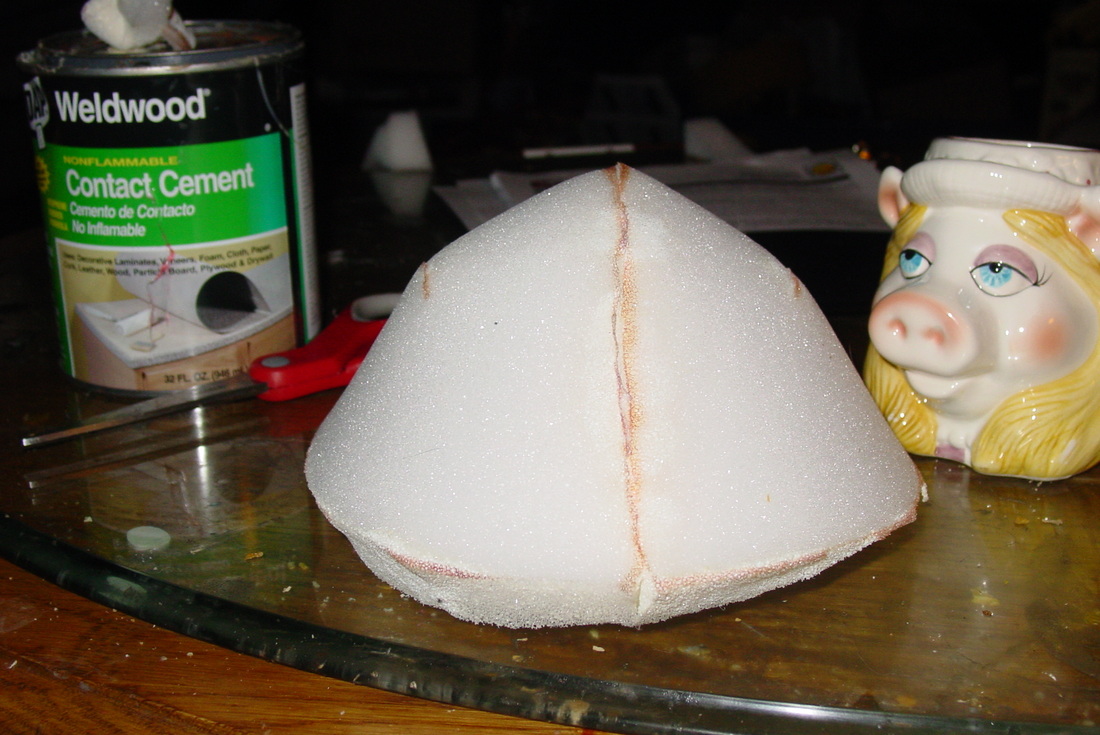
the foam "skull" put together

There are many different things that you can use to build a puppet. A sock, a spoon, fleece, a box- the list goes on and on.
My monstery puppet will be built using a skeleton I construct from foam. The poly foam is 1" thick, and sold in rolls at craft stores for use in cushions and such things. I just picked up a new roll today- I try to watch for 40% off coupons for my local craft stores. The glue I use is called Weldwood contact cement.
I have built many different types of eyes. You can make them from styrofoam balls, ping pong balls, plastic spoons, ping pong balls and many other things. The eyes I will be using for this puppet, I order from a supply store. *We'll talk more about the eyes when I am on that step :)
I end up hand sewing quite a bit of the puppet. I am pretty rough on thread, and found that a spool of upholstery thread works the best for me. It makes things sturdier, and if I need to use a lighter weight thread in some areas I can always do that.

 RSS Feed